Learning how to roast coffee at home is one of the most rewarding steps a coffee lover can take. It transforms coffee from a packaged product into a craft, giving you control over freshness, flavor, and quality in a way no store-bought beans can match. In 2026, home roasting is more accessible than ever, with beginner-friendly equipment, specialty retailers, and abundant learning resources.
This guide is written specifically for beginners. It explains the why, the how, and the what to expect, without unnecessary technical jargon.
What Is Home Coffee Roasting?
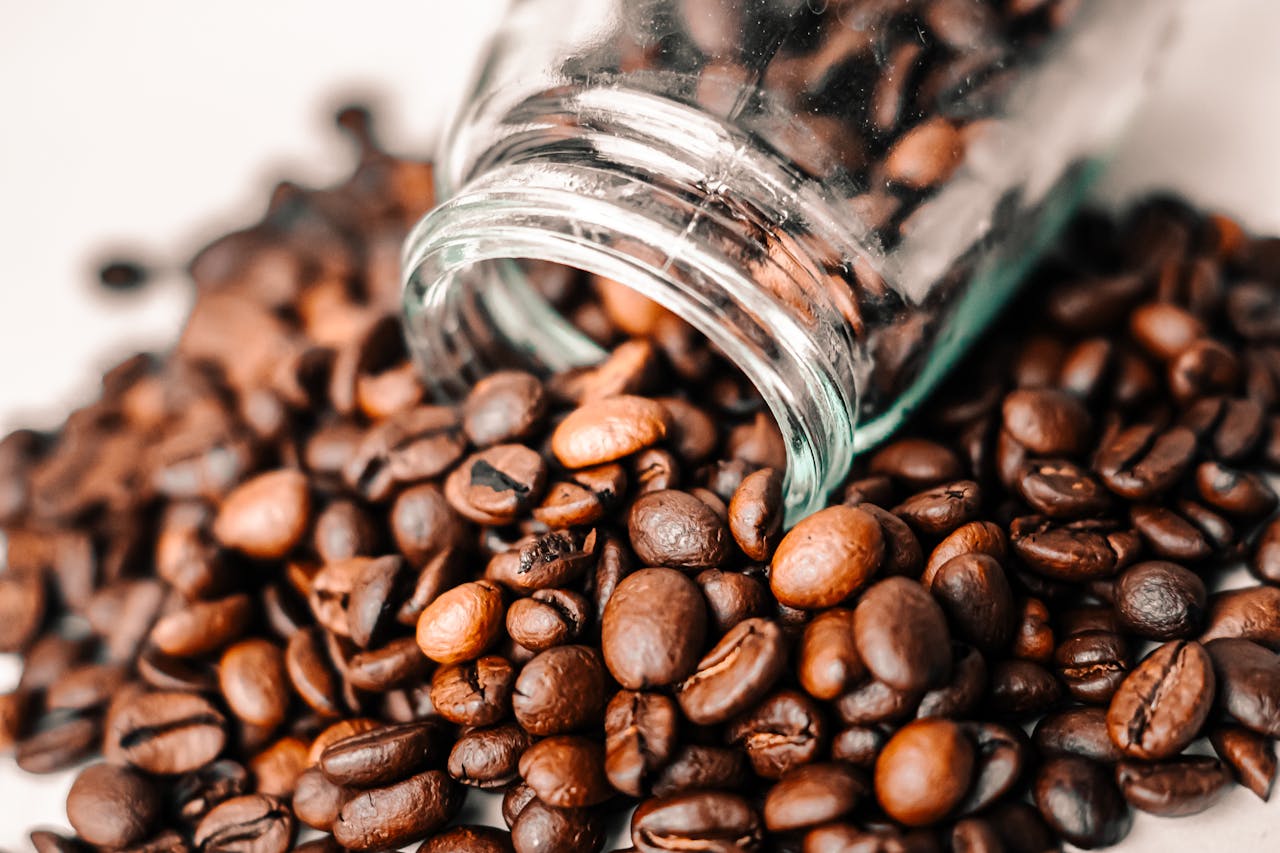
Home coffee roasting is the process of heating green (unroasted) coffee beans until they develop aroma, flavor, and color. During roasting, chemical reactions transform raw beans—grassy and dense—into the fragrant brown coffee we recognize.
Unlike commercial roasting, home roasting is done in small batches using countertop roasters, air roasters, or simple tools. The goal is not industrial perfection but freshness, learning, and personal preference.
Understanding how to roast coffee at home starts with realizing that roasting is simply controlled heat applied over time.
Benefits of Roasting Coffee at Home
1. Unmatched Freshness
Coffee tastes best within days of roasting. Home roasting ensures your coffee is always at its peak.
2. Cost Savings
Green coffee beans are significantly cheaper than roasted specialty coffee. Over time, roasting at home can reduce your coffee costs substantially.
3. Higher Quality Control
You choose the beans, the roast level, and the timing. No guessing, no stale inventory.
4. Skill and Enjoyment
Roasting connects you more deeply to coffee. Each batch teaches you something new.
For beginners, these benefits make learning how to roast coffee at home both practical and enjoyable.
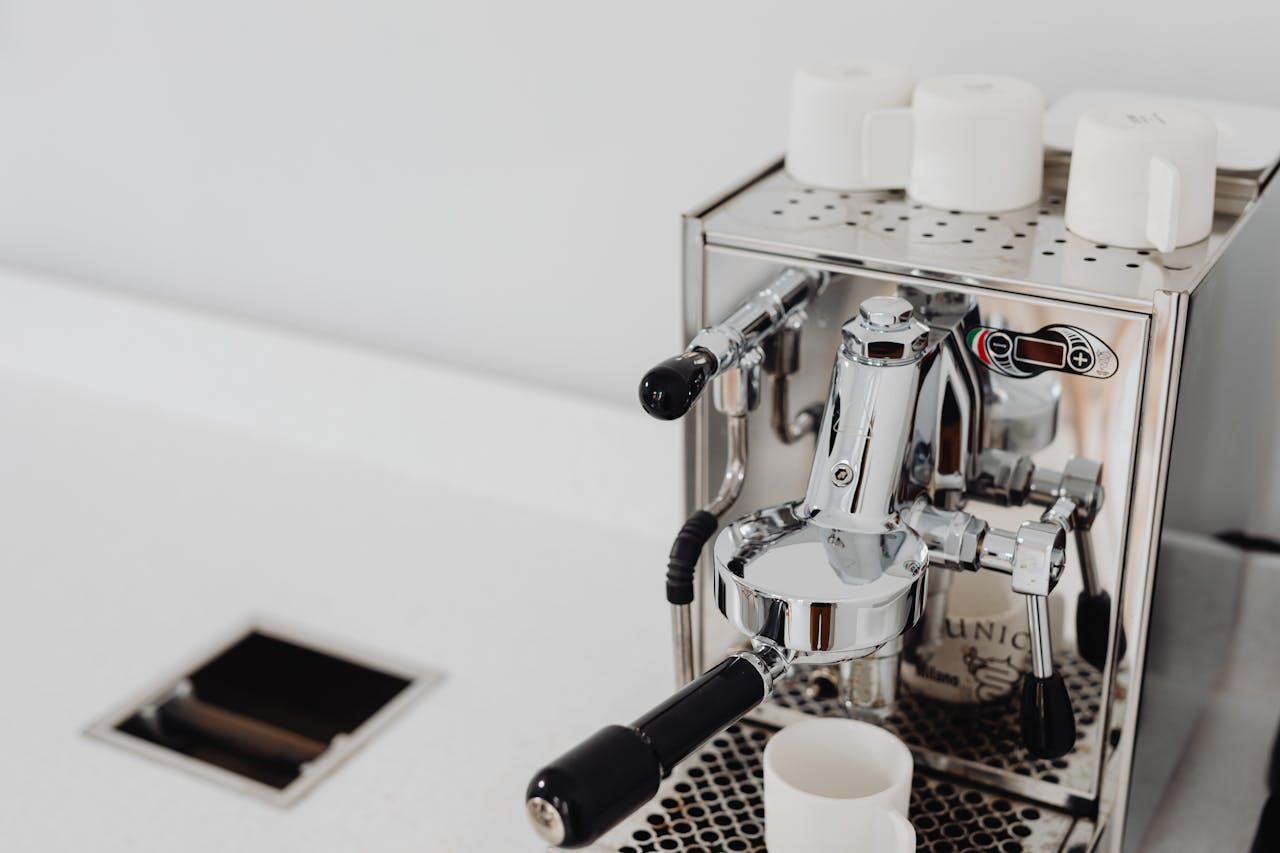
Equipment Needed for Home Coffee Roasting
You do not need expensive equipment to start, but quality tools make the process easier and safer.
Essential Items
- Green Coffee Beans
Buy from trusted specialty retailers such as:- Burman Coffee
- Sweet Maria’s
- Roasting Device
Options include:- Home coffee roaster (Nesco, Gene Cafe, Behmor)
- Hot-air popcorn popper (budget option)
- Heat-Resistant Colander or Cooling Tray
- Timer
- Well-Ventilated Space
Specialty retailers like Burman Coffee and Sweet Maria’s also provide beginner kits and educational resources, making them ideal affiliate partners.
Step-by-Step: How to Roast Coffee at Home (10 Detailed Steps)
Step 1: Measure Your Green Beans
Start small. For beginners, 100–200 grams is ideal.
Step 2: Preheat Your Roaster
If your roaster allows it, preheating ensures even heat application.
Step 3: Load the Beans
Add beans once the roaster reaches starting temperature (typically 350°F / 175°C).
Step 4: Begin the Roast
Beans will start to dry, turning yellow and releasing a grassy smell.
Step 5: Monitor Color and Aroma
As moisture evaporates, aromas shift from hay-like to toasted bread.
Step 6: Listen for First Crack
At around 385–400°F (195–205°C), beans make popping sounds—this is first crack.
Step 7: Decide Your Roast Level
- Stop soon after first crack for light roast
- Continue longer for medium roast
- Approach second crack for dark roast
Step 8: End the Roast
Once desired roast level is reached, stop heat immediately.
Step 9: Cool the Beans Quickly
Use a colander or cooling tray. Rapid cooling preserves flavor clarity.
Step 10: Rest the Beans
Allow beans to degas for 24–72 hours before brewing.
Mastering how to roast coffee at home is largely about repetition and observation.
Temperature and Timing Guidelines
| Roast Level | Temperature Range | Typical Time |
| Light | 385–405°F | 9–11 minutes |
| Medium | 410–430°F | 11–14 minutes |
| Dark | 435–450°F | 14–18 minutes |
These ranges vary by roaster, bean density, and batch size.
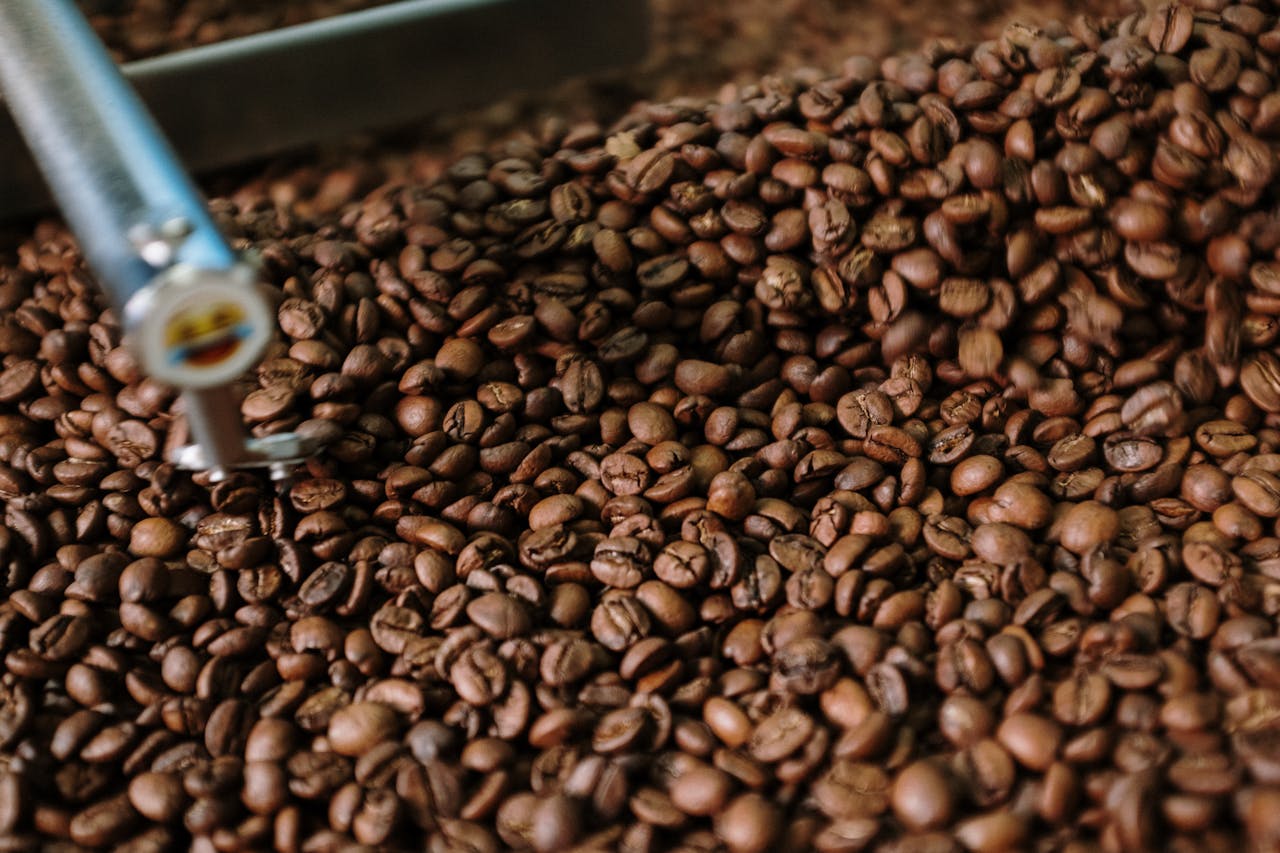
Recognizing Roast Stages
Light Roast
- Light brown color
- Bright acidity
- Origin flavors (floral, fruity)
Medium Roast
- Balanced acidity and sweetness
- Chocolate, caramel notes
- Most popular for beginners
Dark Roast
- Oily surface
- Smoky, bitter notes
- Less origin character
Understanding roast stages is central to learning how to roast coffee at home effectively.
Common Mistakes to Avoid
- Roasting too fast (scorched exterior, underdeveloped interior)
- Roasting too slow (flat, baked flavors)
- Skipping cooling
- Using poor ventilation
- Brewing immediately after roasting
These mistakes are common and part of the learning process.
Troubleshooting Tips
Coffee tastes sour:
Roast too light or too fast. Extend development time.
Coffee tastes bitter:
Roast too dark or brewed incorrectly.
Uneven color:
Batch size too large or insufficient airflow.
Smoky flavors:
Over-roasting or poor ventilation.
Each batch helps refine your understanding of how to roast coffee at home.
Storage and Freshness Tips
- Store roasted beans in an airtight container
- Keep away from light, heat, and moisture
- Do not refrigerate or freeze for daily use
- Use within 2–3 weeks for best flavor
Freshly roasted coffee continues to degas, which is normal.
Frequently Asked Questions
Is home coffee roasting safe?
Yes, when done with proper ventilation and attention.
How long does roasting take?
Typically 10–18 minutes per batch.
Do I need expensive equipment?
No. Beginners can start with simple methods and upgrade later.
Where should I buy green coffee beans?
Specialty retailers like Burman Coffee and Sweet Maria’s offer the best quality and education.
How long before I get good results?
Most beginners see noticeable improvement within 3–5 roasts.
Conclusion
Learning how to roast coffee at home is one of the most impactful ways to elevate your coffee experience. It delivers fresher coffee, long-term savings, and a deeper understanding of flavor—without requiring professional equipment or years of experience.
By starting with the right tools, buying from trusted specialty retailers, and following a clear step-by-step process, beginners can roast confidently and consistently in 2026. Each roast builds skill, intuition, and appreciation—turning everyday coffee into something truly personal.